

Leather Patches: What They Are & How to Attach Them
What Are Leather Patches?
Leather patches are decorative, functional, or branding pieces made from genuine leather, faux leather, or bonded leather. They are cut into various shapes—most commonly circles, rectangles, shields, or custom contours—and then finished with embossing, debossing, printing, engraving, or embroidery. Unlike fabric patches, leather patches offer a rugged, premium look that ages beautifully over time.
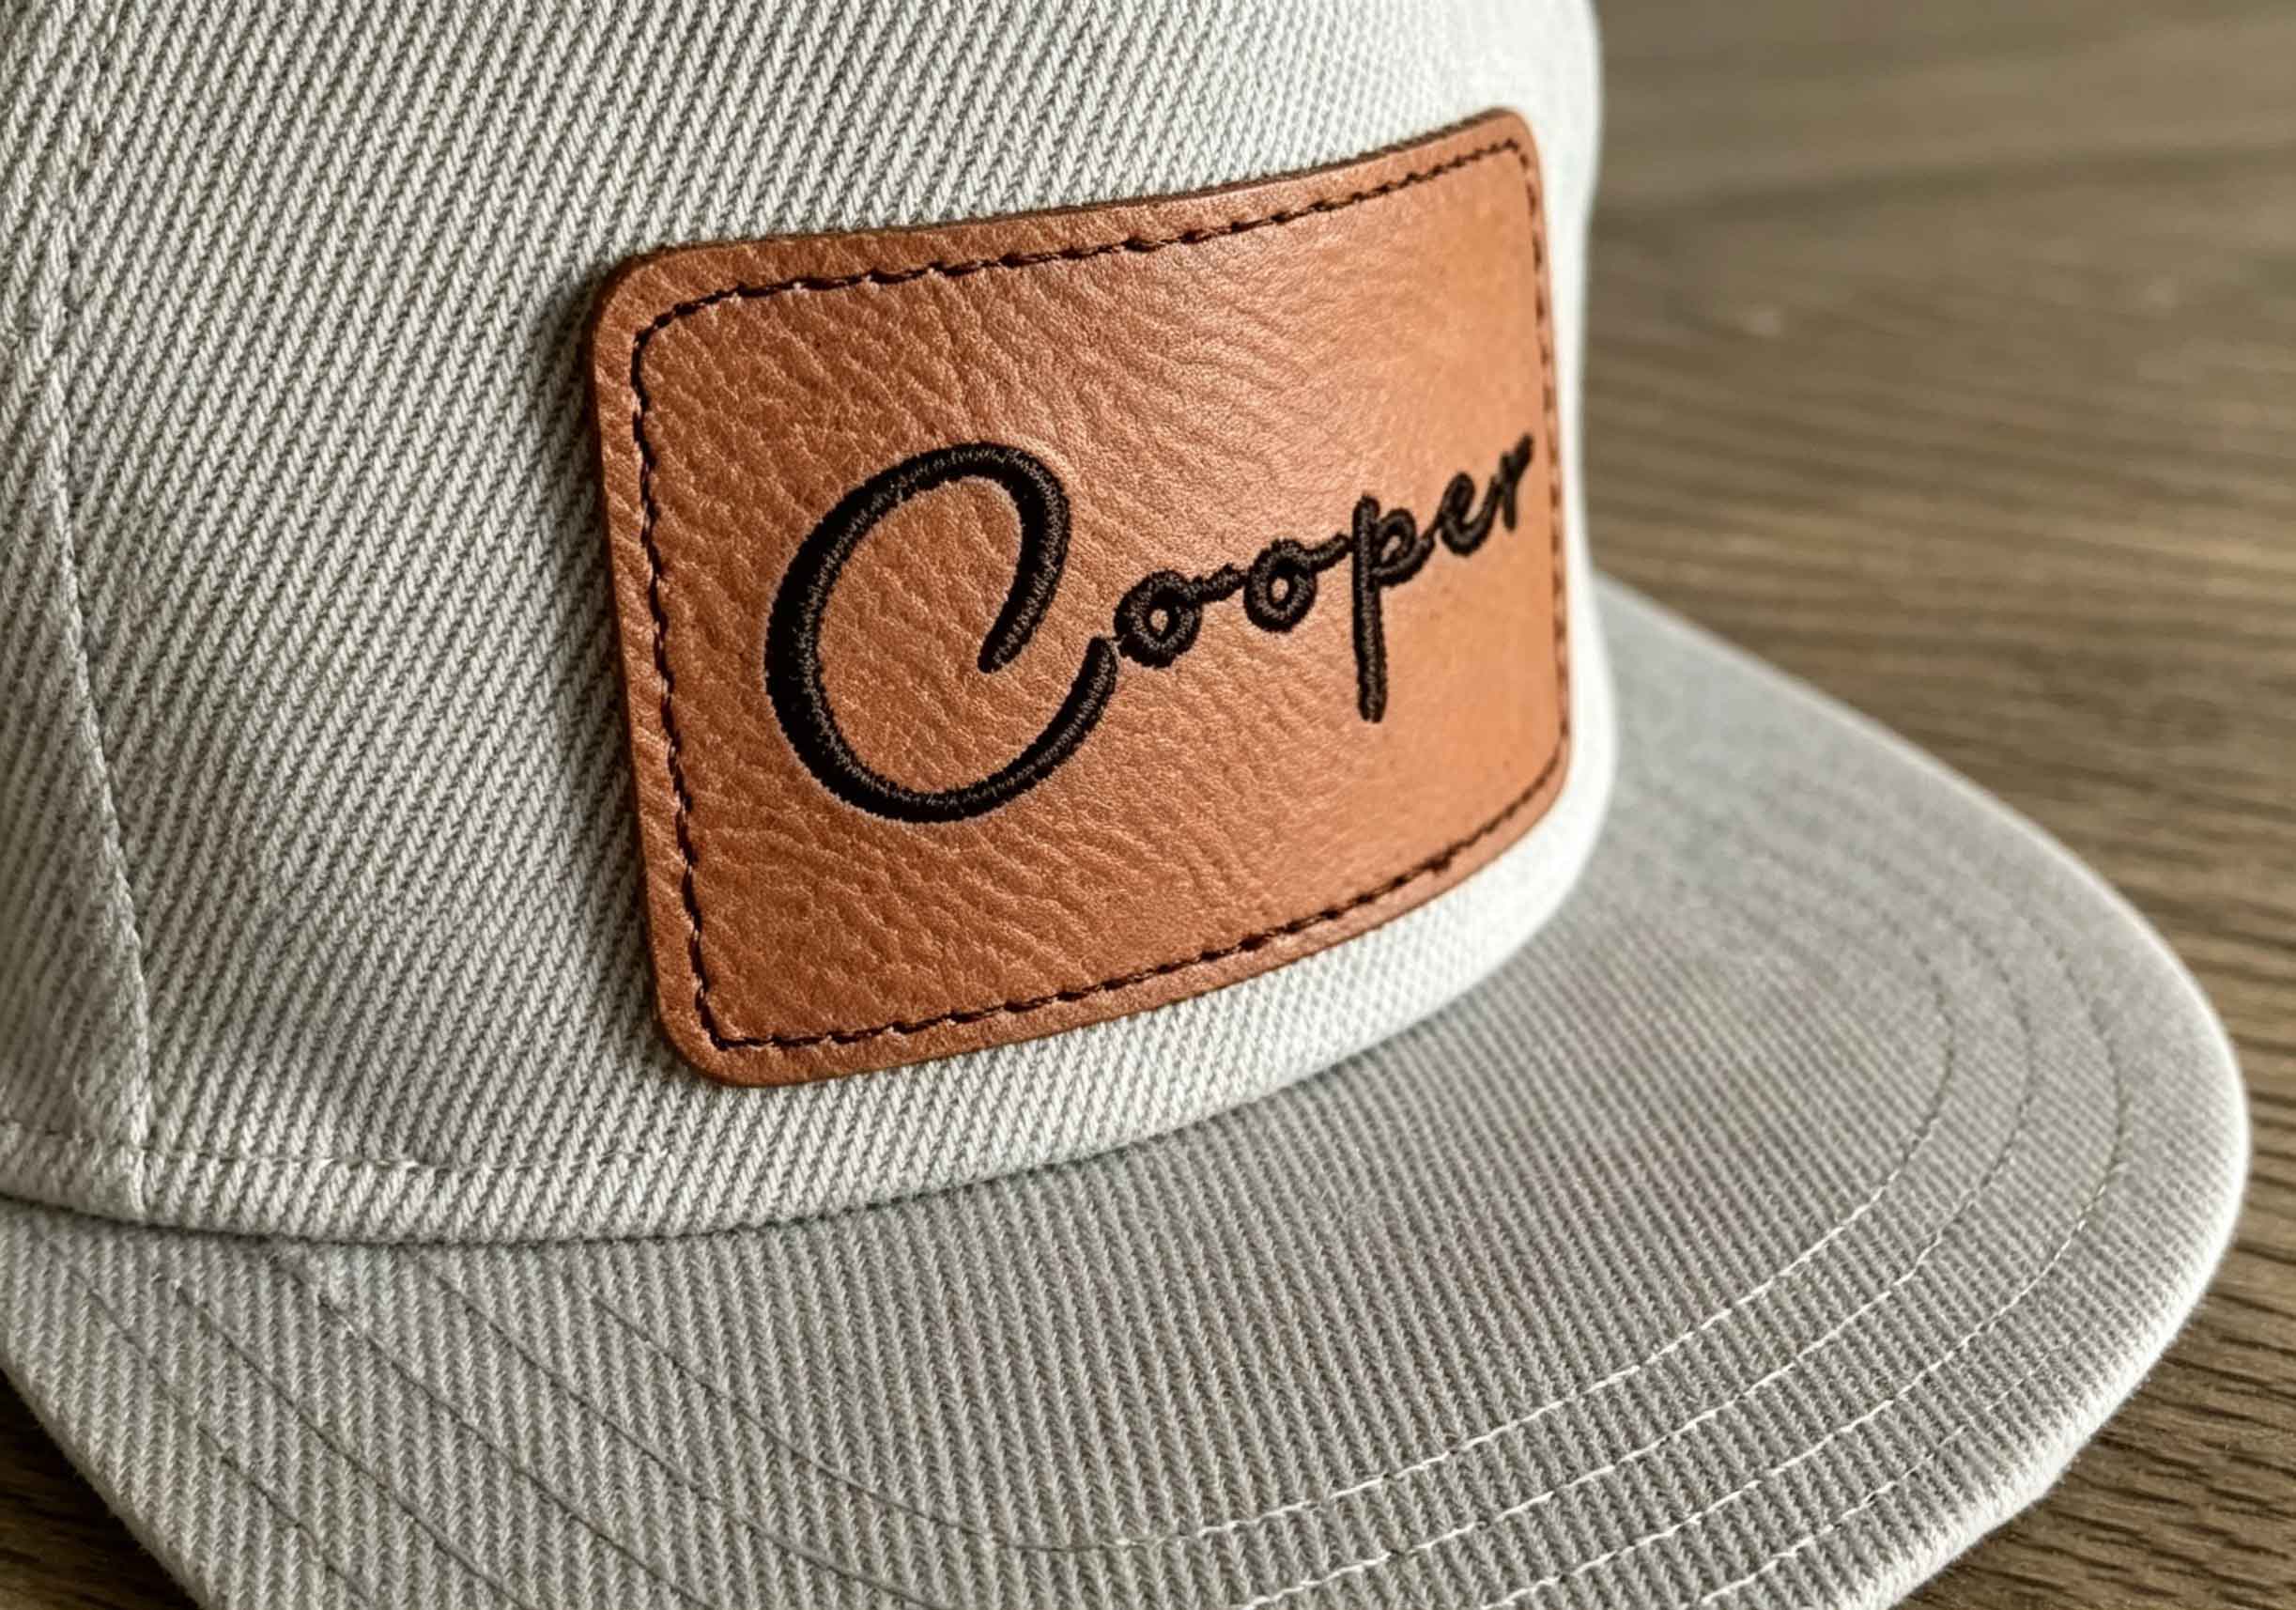
Key characteristics of leather patches:
-
Material: Made from cowhide, goat leather, sheepskin, or synthetic leather. Each type has different thickness, flexibility, and heat tolerance.
-
Appearance: Natural grain texture, smooth or distressed finish, often with embossed logos or stitched borders.
-
Attachment methods: Most leather patches are designed as sew-on, but some come with heat-activated adhesive backing (iron-on). However, as you will see, ironing onto leather is tricky.
-
Common uses: Leather jackets, vests, motorcycle club colors, scout uniforms, jeans, bags, hats, workwear, and brand labels for products like notebooks, wallets, or aprons.
-
Durability: High. A quality leather patch can outlast the garment it is attached to, especially when sewn.
-
Heat sensitivity: Low to moderate. Genuine leather does not handle direct heat well. Prolonged exposure to high temperatures can cause shrinking, cracking, discoloration, or loss of natural oils.
Leather patches are not the same as PVC, woven, or chenille patches. They have a distinct weight, smell, and texture. Some are thin and soft (like goatskin for lightweight jackets), while others are thick and rigid (like full-grain cowhide for biker vests).
Because leather behaves very differently from cotton or denim, attaching a patch to a leather garment requires special care. The most common mistake is treating leather like fabric and reaching for a household iron. That often ends badly.
Now that you understand what leather patches are and their key properties, let's look at the best way to attach them—without causing damage.
The Best Way to Attach Custom Leather Patches
After testing multiple methods and consulting with leather crafters and patch manufacturers, the clear winner is sewing. Whether by hand or with a sewing machine, stitching provides the strongest, most flexible, and most permanent attachment. It also carries zero risk of heat damage.
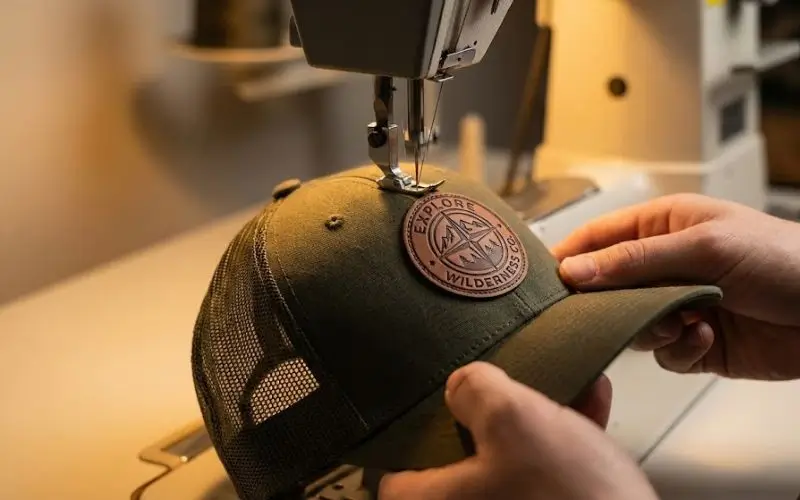
Why sewing is the best method for leather patches:
-
No heat exposure → no risk of cracking, shrinking, or discoloring the leather.
-
Strong mechanical bond → thread holds the patch in place even under stress, moisture, or temperature changes.
-
Removable → if needed, you can cut the threads without destroying the patch or the garment.
-
Flexible → stitches move with the leather, unlike glue which can become stiff and crack over time.
-
Works on all leather types → from thin lambskin to thick saddle leather.
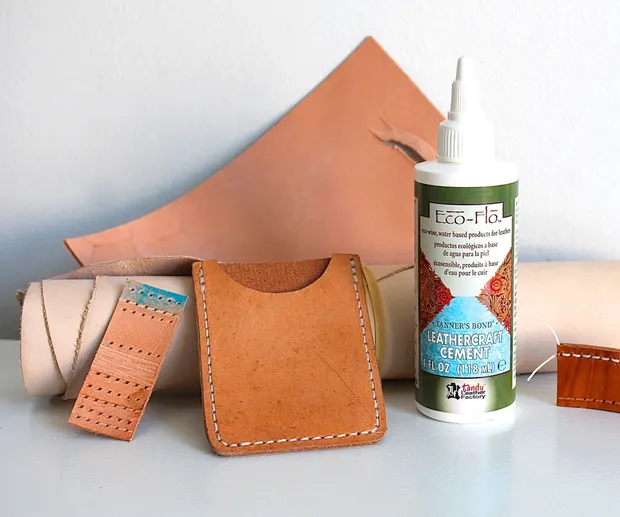
The second best method is using a specialized fabric glue or leather contact cement. This is a good alternative for people who cannot sew or for quick fixes. However, glue bonds can break down after months of flexing, washing (spot cleaning only), or extreme weather.
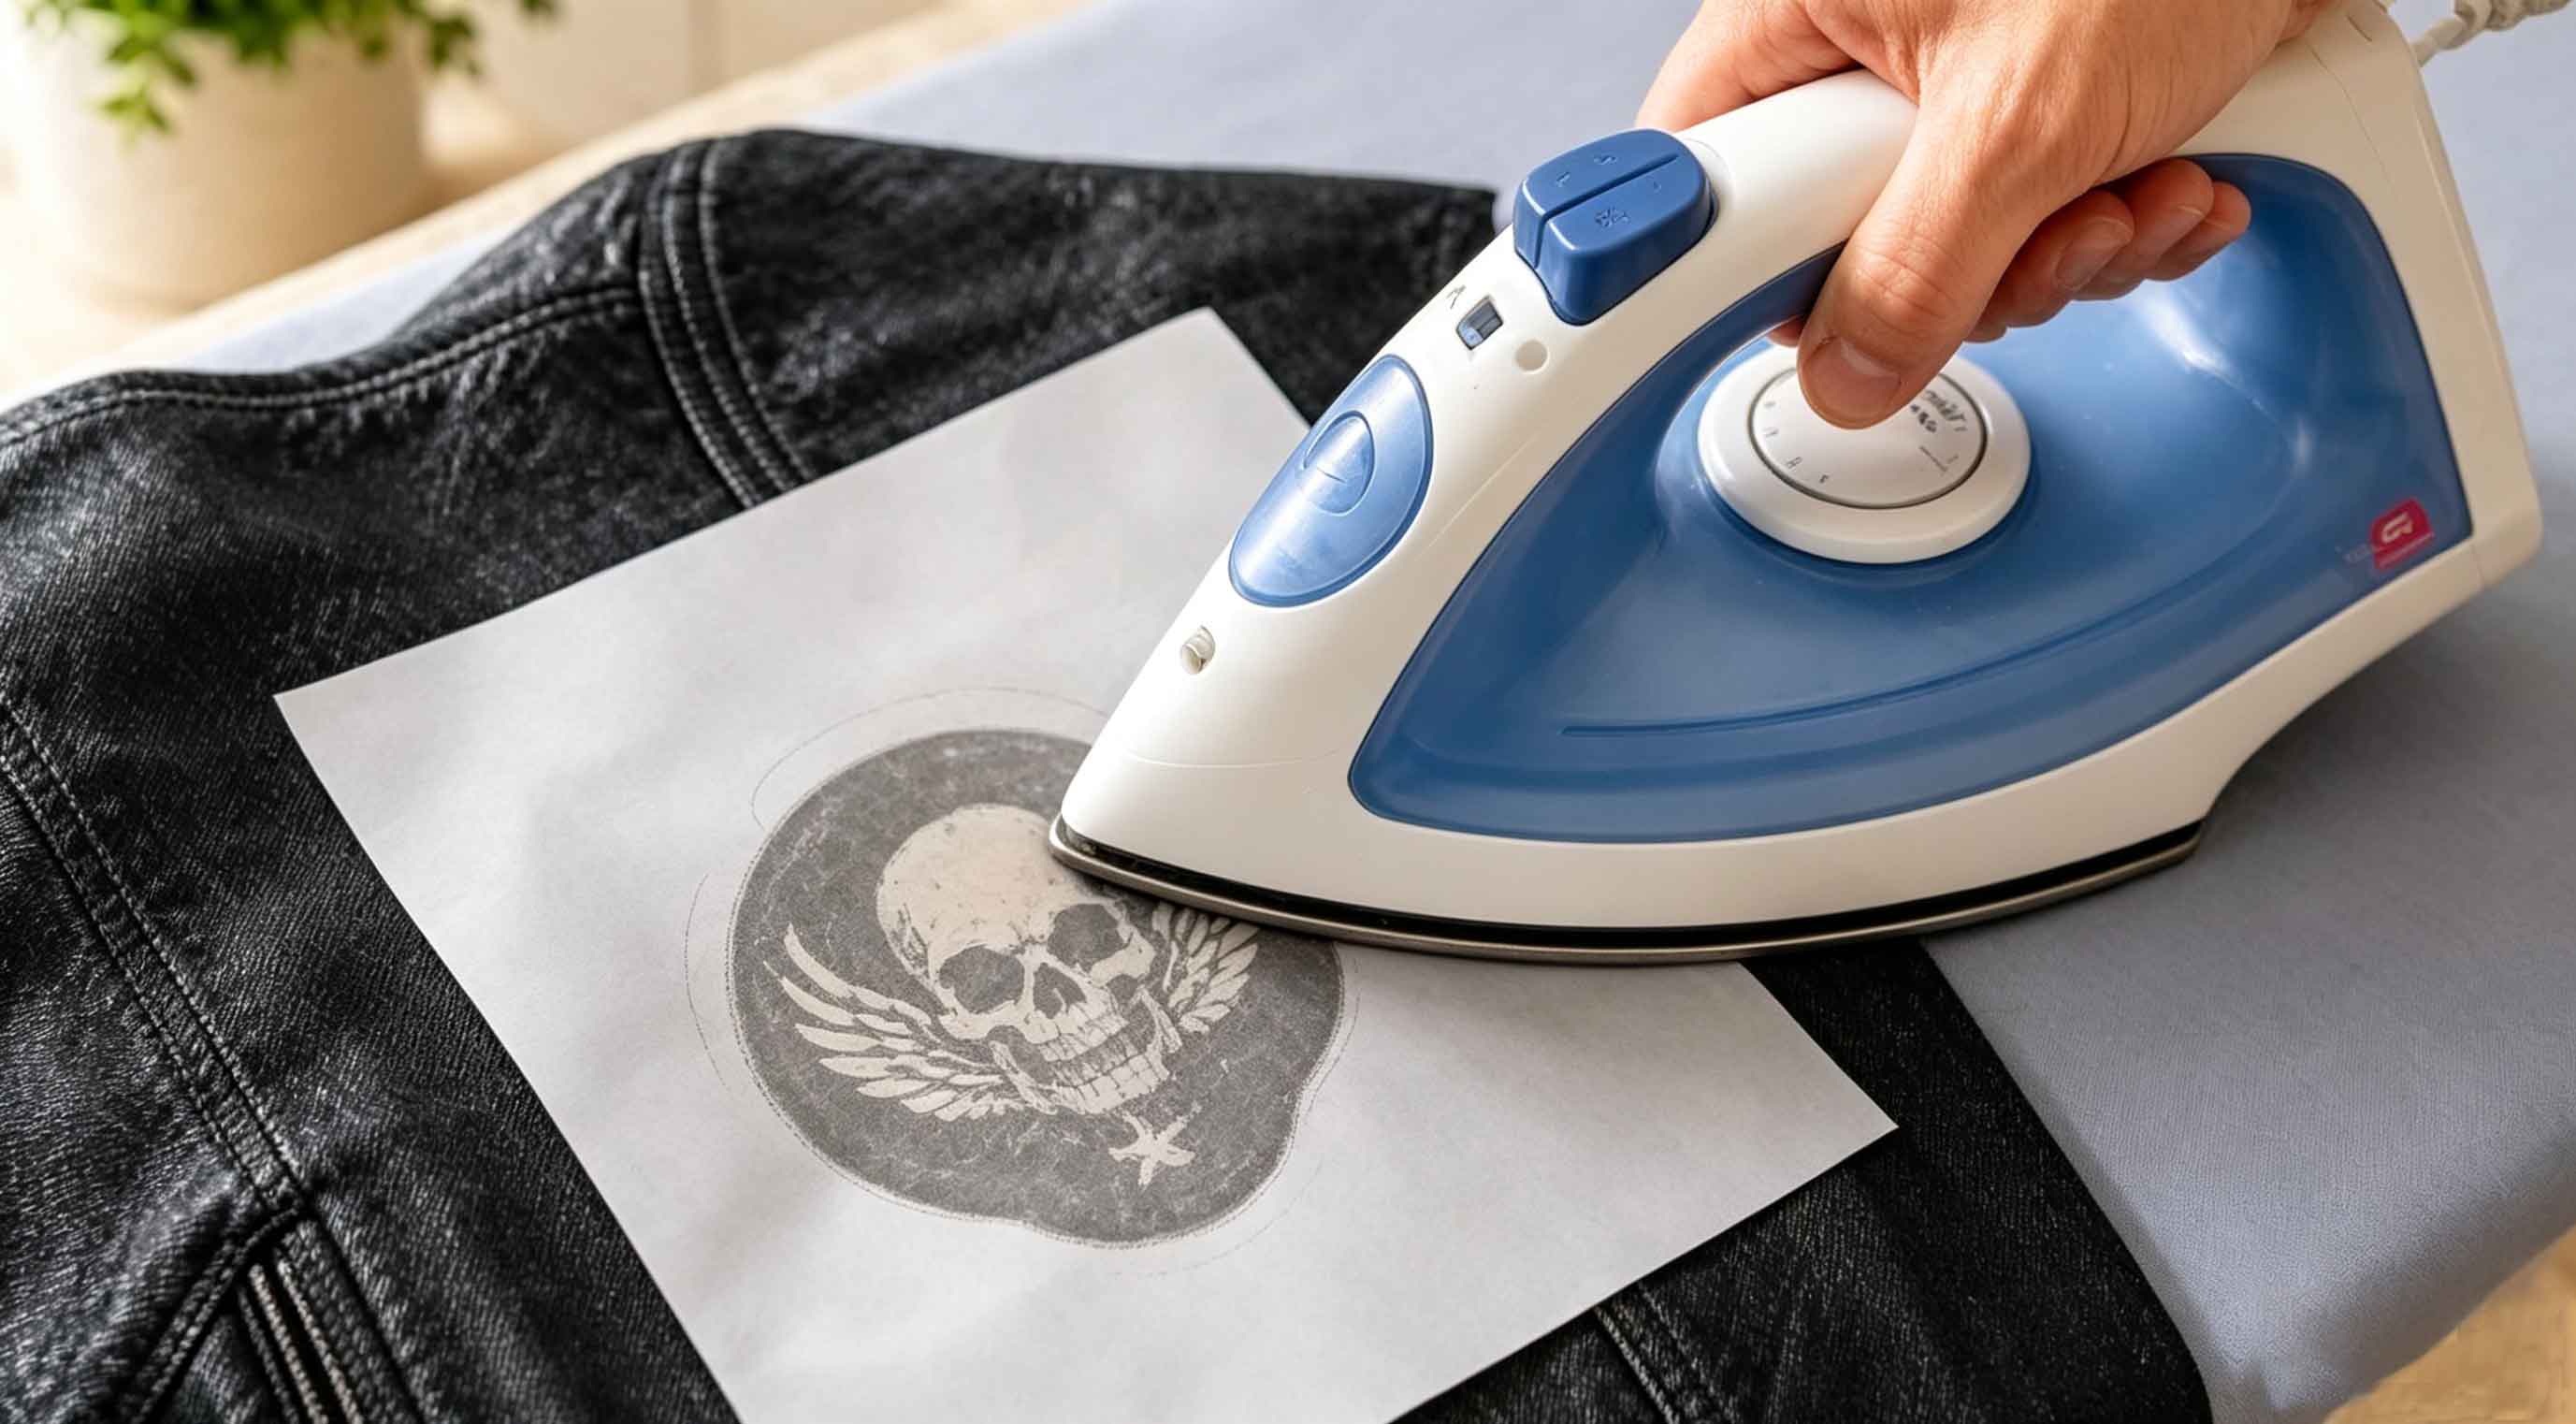
What about iron-on? Iron-on patches are designed for fabrics like denim, cotton, or polyester. Leather is not a suitable surface for heat-activated adhesives. While you can attempt to iron a patch onto leather (see Section 3), it is not recommended as the primary method. Many experienced leather workers will tell you straight: don't do it.
If you are ordering custom leather patches for a project, always specify whether you plan to sew or glue. Some patches come with pre-punched holes for easy hand sewing. Others may have a plain backing suitable for adhesive.
In short: Sewing > Gluing > Ironing (for leather). Keep this hierarchy in mind as we explore each method in detail.
How to Apply Iron-On Patches to Leather
Let's be honest: ironing a patch onto leather is risky. But if you understand the risks and still want to try—maybe the patch is small, the leather is thick, or you don't have access to a needle and thread—here is a step-by-step method to minimize damage.
Before you start: Read this warning. Ironing will likely damage thin or delicate leather (goatskin, lambskin, fashion leather). Always test on a hidden area first, such as an inside pocket or the bottom hem. If the leather changes color, becomes shiny, or feels stiff after 10 seconds of low heat, stop. Do not proceed.
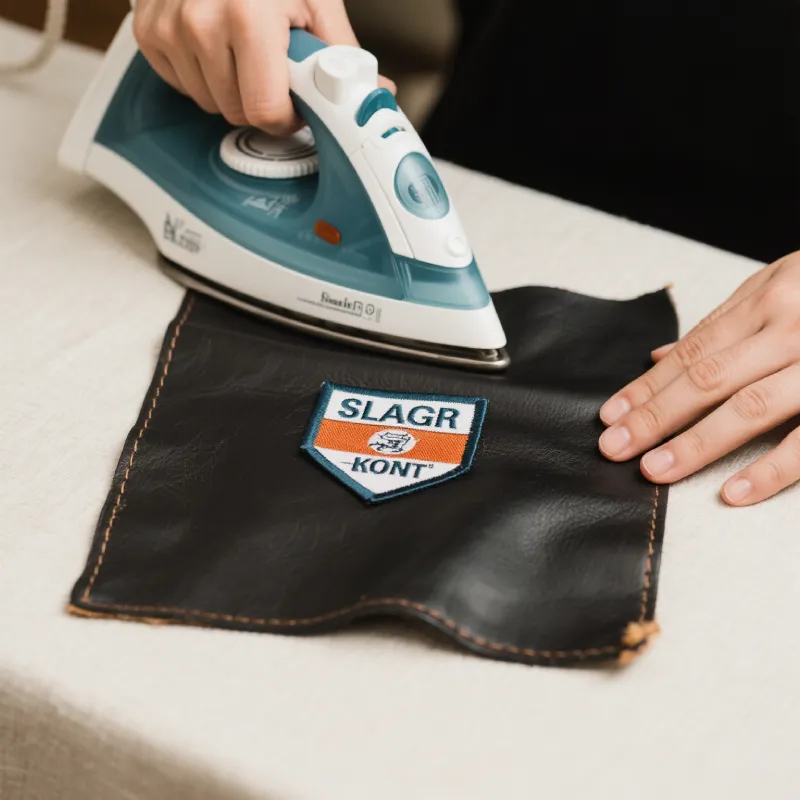
Step 1: Gather Your Supplies
Iron-on patch (with heat-activated glue already applied), household iron with adjustable temperature settings, parchment paper or a thin cotton pressing cloth, a flat heat-resistant surface (ironing board is fine), and a scrap piece of similar leather or access to a hidden test area.
Step 2: Prepare the Leather Garment
Place the leather item on the ironing board with the target area facing up. Make sure there are no folds, zippers, or decorations underneath that could be damaged. Clean the leather surface with a dry cloth to remove dust or oils.
Step 3: Position the Patch and Protective Barrier
Lay the patch exactly where you want it. Cover it completely with parchment paper or a pressing cloth. This barrier is essential—it prevents direct contact between the hot iron and the leather, which would almost certainly cause burn marks or melting.
Step 4: Apply Low Heat – Briefly
Set your iron to a low heat setting (synthetic or silk range, never cotton or linen). No steam. Press the iron down firmly over the protective cloth for 10 to 15 seconds only. Do not move the iron around. Do not press longer. The adhesive needs just enough heat to soften, but the leather cannot tolerate more.
Step 5: Let It Cool Without Moving
Remove the iron, but leave the protective cloth in place. Let the patch cool for at least 1 minute. During this time, the adhesive hardens again and forms a bond. If you lift the cloth too early, the patch may shift or peel up at the edges.
Step 6: Check the Bond
Carefully lift the pressing cloth. Try to gently lift one corner of the patch with your fingernail. If it lifts easily, the bond failed. Do not re-iron immediately—repeated heat exposure makes things worse. Instead, switch to sewing or glue as a backup plan.
Important notes: This method works sometimes on thick, full-grain leather (like a heavy biker vest). It rarely works on smooth or finished leather. Even if the patch sticks initially, the bond may fail after a few weeks of wear as the leather flexes and the adhesive cracks. Some modern iron-on patches use "low-temp" adhesives. Check the patch manufacturer's instructions. If they say "do not use on leather," believe them.
Alternative Methods to Try
If sewing is not possible and ironing feels too risky, you have a few other options. Each has pros and cons.
Fabric Glue or Leather Cement
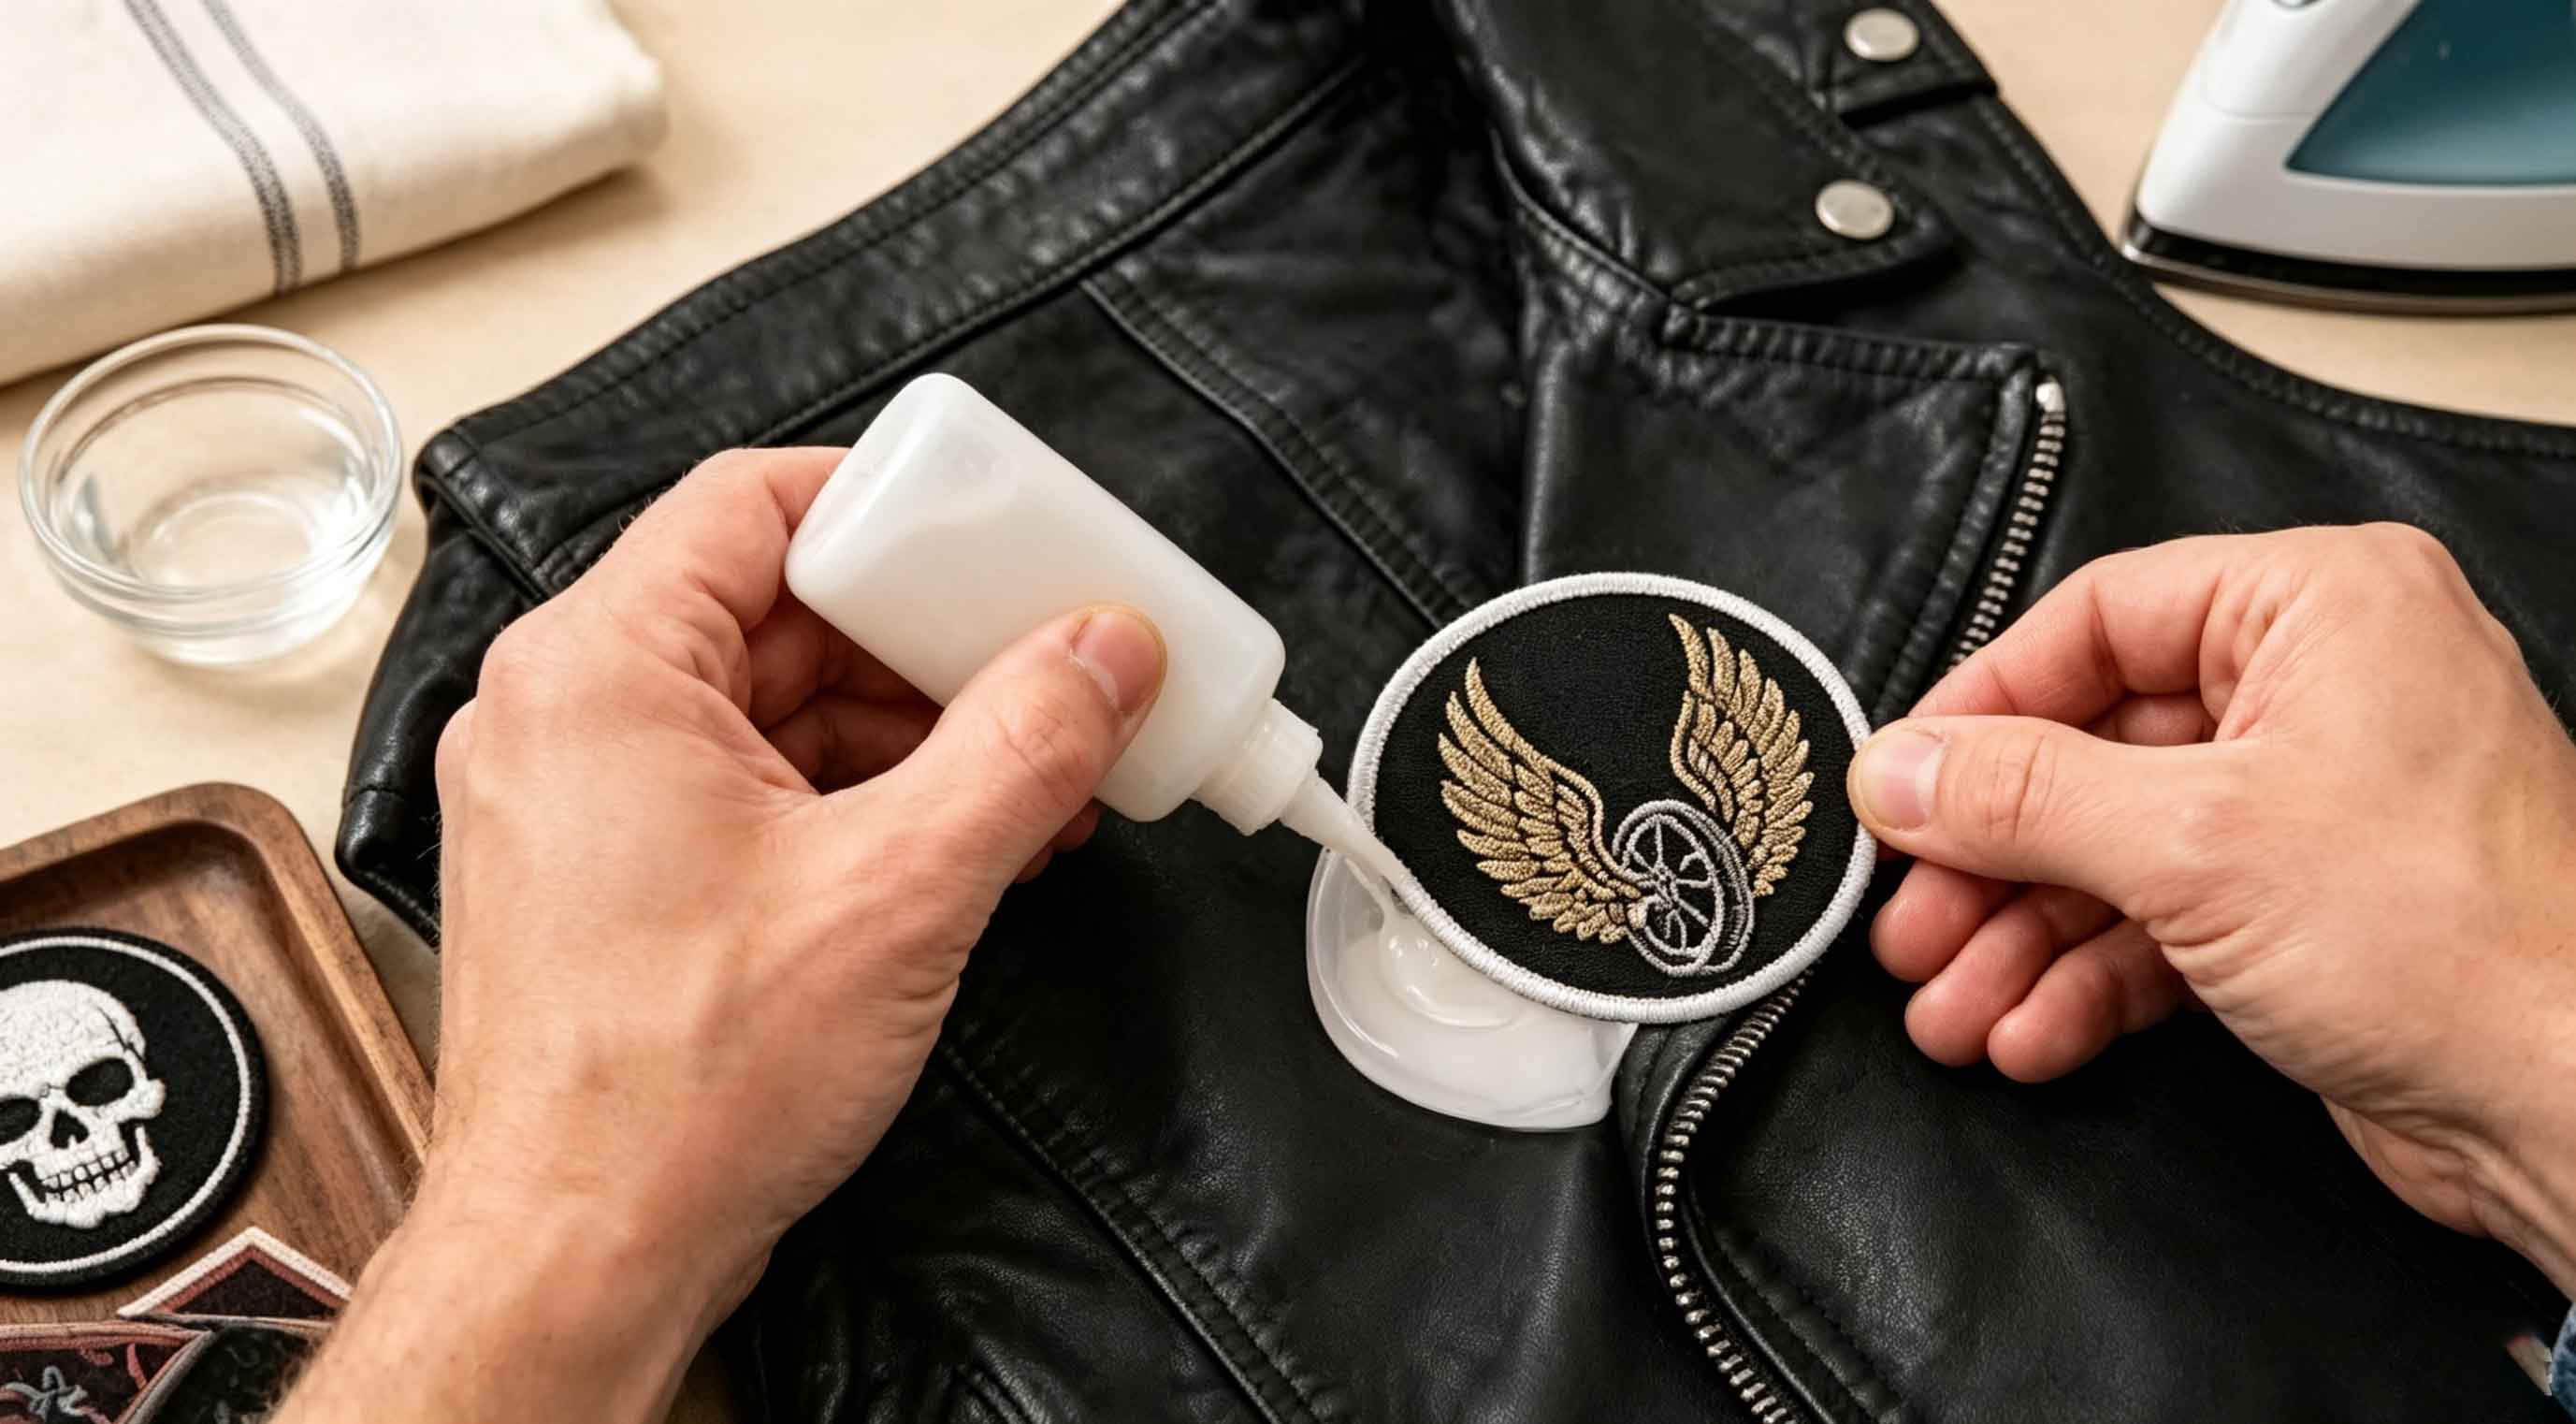
This is the most common alternative. Products like Refinish Coatings Leather and Fabric Glue, E6000, Barge All-Purpose Cement, or Tandy Leather Eco-Flo Weldwood are designed to bond leather to fabric or leather to leather.
How to use glue: Clean the leather surface and the back of the patch. Apply a thin, even layer of glue to the patch backing (or both surfaces if the glue instructions say so). Press the patch firmly onto the leather. Use a roller or your fingers to smooth out air bubbles. Clamp or place a heavy book on top for several hours (or overnight) while the glue cures.
Pros: No heat, decent initial bond, works on curved areas. Cons: Can become brittle over time; may peel in hot or humid conditions; difficult to remove without residue.
Rubber Cement
Rubber cement is a quick, cheap option in a pinch. It works best for temporary placement or lightweight patches on items that won't see heavy wear. Apply to both surfaces, let dry until tacky (about 5 minutes), then press together.
Pros: Easy to apply, repositionable for a short time. Cons: Weak bond; fails under stress or heat; not permanent.
Double-Sided Adhesive Sheets (Heat-Free)
Some crafters use adhesive sheets designed for fabric or leather (like Tear Mender or Heat-n-Bond but without ironing). You cut the sheet to shape, peel off the liner, and press.
Pros: Clean, no mess, no heat. Cons: Generally weak; the patch may peel after a few wears; not recommended for jackets or vests that flex a lot.
Professional Sewing Service
If you don't sew, consider taking your leather garment and patch to a tailor, leather repair shop, or shoe repair shop. They have heavy-duty sewing machines and needles designed for leather. The cost is usually modest ($10–$30 per patch), and the result will be perfect.
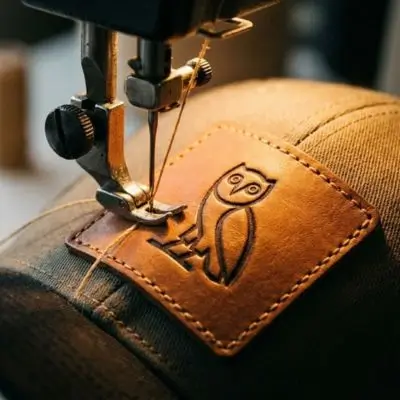
Bottom line: Glue is your second-best option after sewing. Rubber cement and adhesive sheets are distant third choices only for light-duty applications.
Sewing vs. Gluing: What’s the Best Option?
This is the most important comparison in the entire article. If you take away only one thing, remember this: sewing is stronger, more durable, and safer than any adhesive when attaching patches to leather.
| Factor | Sewing | Gluing |
|---|---|---|
| Strength | Very high – threads hold even under heavy stress | Medium to high – depends on glue type and surface |
| Flexibility | Excellent – stitches move with the leather | Fair – many glues become stiff and crack over time |
| Heat resistance | Perfect – no heat involved | Good – but some glues soften in hot cars or direct sun |
| Moisture resistance | Good – polyester or nylon thread resists water | Poor to fair – many glues weaken when wet |
| Permanence | Permanent until you cut the threads | Semi-permanent – may fail after months or years |
| Removability | Easy – cut threads, patch comes off clean | Difficult – residue often remains |
| Skill required | Basic hand sewing or machine operation | Very low – anyone can squeeze glue |
| Time to complete | 5–15 minutes | Several hours (including curing time) |
| Best for | All leather items, especially heavy-use jackets, bags, vests | Quick fixes, decorations that won't see hard wear |
When to Choose Sewing
The leather garment is expensive or sentimental; the patch will be exposed to rain, sun, or constant movement; you want the patch to last for years; you have access to a needle, thread, and basic sewing skills.
When to Choose Gluing
You cannot sew (and don't want to pay a tailor); the patch is very small and lightweight; the leather item is cheap or temporary; you need a quick solution for a costume or one-time event.
Can You Combine Both? Yes. Many professionals sew and glue patches to leather. They apply a thin layer of glue to hold the patch in place, then sew around the perimeter. The glue prevents shifting while sewing, and the thread ensures long-term strength. This is arguably the best of both worlds.
Final verdict: If you can only choose one, choose sewing. It is the best option by a wide margin.
Best Practices for Custom Leather Patches
Before Attaching: Test first on a hidden area. Clean the surface (dust, oils prevent bonding). Position carefully with removable tape.
During Attachment: Use a leather needle (size 90/14 or 100/16) for sewing. Space stitches evenly (4–6 per inch). Do not overheat. Let glue cure fully for 24 hours if possible.
After Attachment: Avoid machine washing and dry cleaning. Store flat. Condition the leather carefully, avoiding the patch glue line.
When Ordering Custom Leather Patches: Specify attachment method, request a sample first, consider edge finish (painted or folded edges last longer).
Following these practices will ensure your leather patch stays secure and attractive for the life of the garment.
Custom Panda: Premium Leather Patches Partner for Your Project
When you need high-quality custom leather patches for your brand, club, or personal project, Custom Panda is a reliable partner. With years of experience in the patch manufacturing industry, Custom Panda specializes in crafting premium leather patches that meet professional standards.
What Custom Panda offers:
-
Custom leather patches in any shape, size, or color
-
Multiple styles: embossed, debossed, printed, laser-engraved, and woven leather-look patches
-
Backing options: sew-on, iron-on (though we recommend sewing for leather garments), or adhesive backing
-
Low minimum order quantities – suitable for small clubs, startups, or personal projects
-
Free artwork proofs – you see the design before production
-
Fast turnaround times – typically 7–12 days for samples, 15–20 days for bulk orders
-
Eco-friendly options – vegetable-tanned leather and recycled leather available
Why choose Custom Panda for leather patches?
Quality control: Each patch is inspected for clean edges, accurate colors, and strong adhesive (if applicable). Expert advice: Their team understands leather properties and can guide you toward the right thickness, finish, and attachment method for your specific garment. Competitive pricing: No hidden fees. Quotes include setup, materials, and shipping.
Whether you need leather patches for motorcycle club colors, scout uniforms, workwear branding, fashion labels, or promotional merchandise, Custom Panda delivers consistent results.
How to get started:
Visit our website, request a free quote, upload your design (AI, EPS, PDF, or even a rough sketch), and specify your patch quantity, size, and backing preference. Within 12 hours, you will receive a proof and pricing.
For large projects or repeat orders, Custom Panda also offers volume discounts and dedicated account support.
FAQs About Leather Patches
1. Can I iron a patch onto genuine leather?
Not recommended. Direct heat from an iron can cause genuine leather to shrink, crack, discolor, or lose its natural oils. If you absolutely must try, use a low heat setting, place a pressing cloth or parchment paper between the iron and the patch, and press for no more than 10–15 seconds. However, even with precautions, the bond is often weak and temporary. Sewing is always safer.
2. What is the most durable way to attach a leather patch?
Sewing, either by hand or with a sewing machine, is the most durable method. Use a leather needle and polyester or nylon thread. Stitches create a mechanical bond that holds up to flexing, moisture, temperature changes, and heavy wear. For maximum strength, some people combine a thin layer of glue (to hold the patch in place) with sewing around the edges.
3. Can I put a leather patch through the washing machine?
No. Leather patches—and any garment with leather components—should never go in a washing machine. Water, detergents, and agitation will damage the leather (it can shrink, stiffen, or lose color) and may dissolve or weaken many adhesives. Instead, spot clean with a damp cloth and a tiny amount of mild soap. For deeper cleaning, consult a professional leather cleaner.
4. Will glue damage the leather surface?
Some glues can damage leather. Cheap white glues or super glues (cyanoacrylates) may leave stains, create hard spots, or even eat through thin leather finishes. Always use a glue specifically labeled for leather or fabric-and-leather applications, such as contact cement (Barge, Tandy) or a flexible fabric glue (E6000, Refinish Coatings). Test the glue on a hidden area first, and apply a thin layer—never soak the leather.
5. Can a leather patch be removed once it is attached?
It depends on the attachment method. Sewn patches: Yes, easily. Use a seam ripper or small scissors to cut the threads. The patch and garment should be undamaged, though you may see small needle holes in the leather. Glued patches: Difficult. Removing a glued patch often leaves residue, tears the leather surface, or removes some of the leather finish. Iron-on patches: If bonded to leather (rarely successful), removal may require heat again, which can further damage the leather. In most cases, you cannot remove an iron-on patch without visible damage.